Willing to get started with WordPress? This guide will be very helpful for you. You don’t need to have a CPanel to host your WordPress. You can directly Install WordPress on XAMPP Windows 10 or Windows 11.
You will be able to save a lot of time by installing a local server on your PC or computer to test and develop themes and plugins. Website designers will be able to use this guide to install WordPress locally on their own PC for quick testing and designing purposes.
What is XAMPP?
XAMPP stands for cross-platform, Apache, MySQL, PHP, and Perl. It is a simple and lightweight solution that allows you to create a local web server for testing purposes. It is a free and open-source cross-platform web server solution stack package developed by Apache Friends.
In order to run WordPress on PC we need to have XAMPP without a local server we can’t run WordPress and we can’t get a testing environment.
How to Install XAMPP on Windows 10
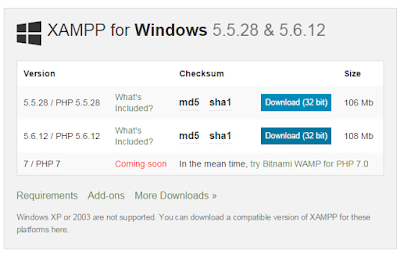
To install XAMPP on a PC, first of all, you need to download the XAMPP application from the Apache Friends Website, and from there you have to download XAMPP.
[button color=”primary” size=”big” link=”https://www.apachefriends.org/download.html” icon=”” target=”false” nofollow=”false”]Download XAMPP for Windows[/button]
After completion of the download, you will get an application file that can be run-able. Double click on that application and Install.
While installing XAMMP you may receive a notification on your screen. Click on Yes and Go for further process. For better before installing XAMPP on a PC you have to disable your active Spyware and Antiviruses.
After running the application, now hit on Next button
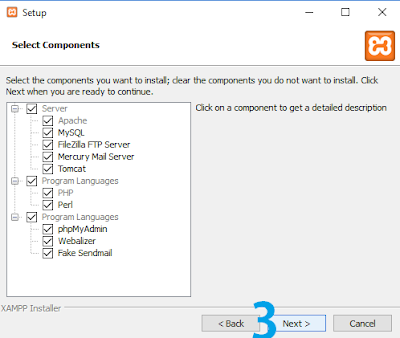
In this step, you have to choose the component that you want to install to make your PC a local server. To make run WordPress you have to install Apache and MySQL without these two-component we can’t run word press on a PC. In these steps also hit not the Next button.
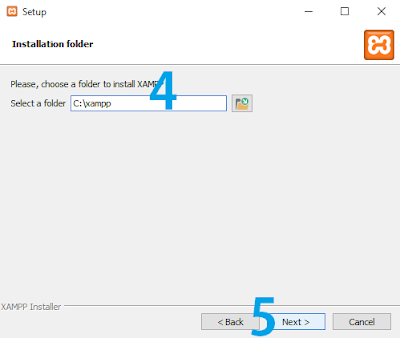
Here you have to choose the location where you want to store your XAMPP application, here I selected C drive. You can choose any other drive too…
And finally, hit on the Next button for the next step.
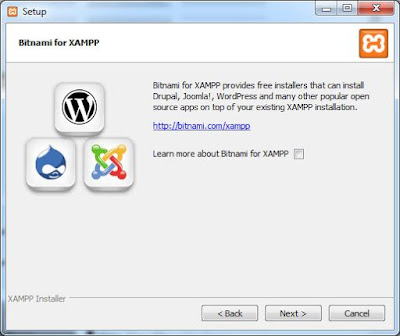
In this step, you don’t have to do many things just hit on Next button for further steps. After that again you have to go for Next and you have to start the control panel of XAMPP and hit on Finish. That’s it.
That’s it… If it shows you any network notification on your computer screen just do Allow Access that’s it…
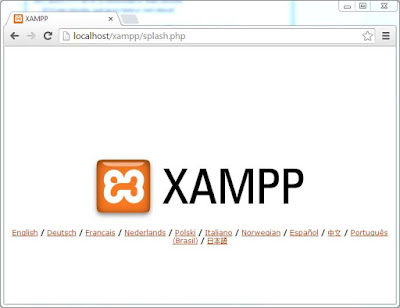
Now go to the web browser and type on the address bar,
localhost/xampp
localhost/xampp/index.php
localhost/xampp/splash.php
Type what you feel easy and choose the language that you want to set for your XAMPP and finally, it will show you the index.php demo page on your screen that’s it…
Create a Database to Install WordPress on XAMPP
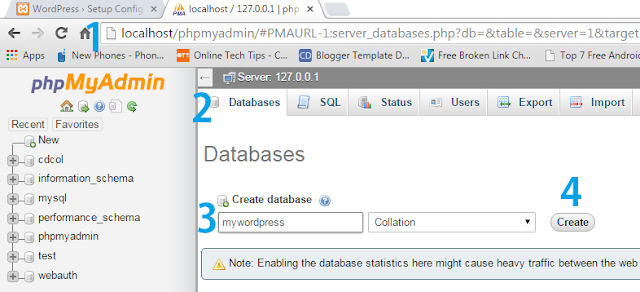
Before installing WordPress on XAMPP you have to create a database on MySQL through PHPMyAdmin. Without creating a database you can’t install WordPress. The database is used to store the information about the WordPress plugin.
First, open your localhost on your web browser by typing localhost/xampp or you can directly go to PHPMyAdmin by typing localhost/phpmyadmin
localhost/xampp
localhost/phpmyadmin
After that, you will get the database button on your PHPMyAdmin screen.
[2] – Here you have to select the database option
[3] – Now type the database name
[3] – Now finally click on create
That’s it for creating a database on PHPMyAdmin….
Now it’s time to learn about WordPress
Download and Install WordPress
To install WordPress first of all you need to download the latest version of WordPress from the site.
In order to make WordPress run-able, you have to extract that .zip file.
[button color=”primary” size=”big” link=”http://” icon=”Download WordPress” target=”true” nofollow=”true”]https://wordpress.org/download/[/button]
You have to extract that .zip file to XAMPP/htdocs folder if you don’t extract that WordPress into htdocs it won’t work. So you have to keep this thing in your mind while installing WordPress.
That’s it for extracting the WordPress in XAMPP now to setup WordPress again you have to follow below steps.
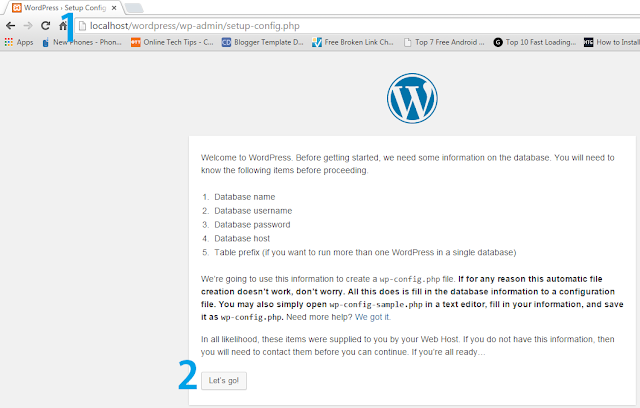
Now go to your web browser and now type on the address bar,
localhost/wordpress
That will show you the localhost/wordpress/wp-admin/setup-config.php address on your address bar.
Now hit on the Let’s go button…
Here you have to put your created database name we recently created through PHPMyAdmin take a look above pictures…
Database name: mywordpress
for username here we are using default user name known as root and it doesn’t have any password so leave it blank
Username : root
Password : blank
for database hot is it’s localhost so leave it don’t change and table prefix you can change as per your need and now finally hit on submit button.
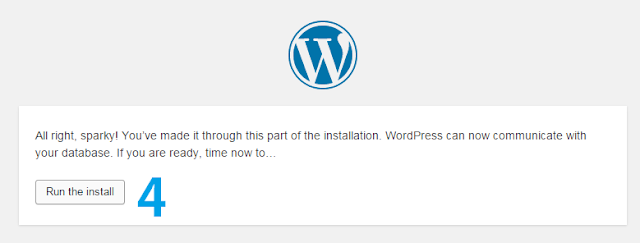
Now finally it will show you the option to install WordPress on a PC with XAMPP. In this step, you have to click on Run the Install.
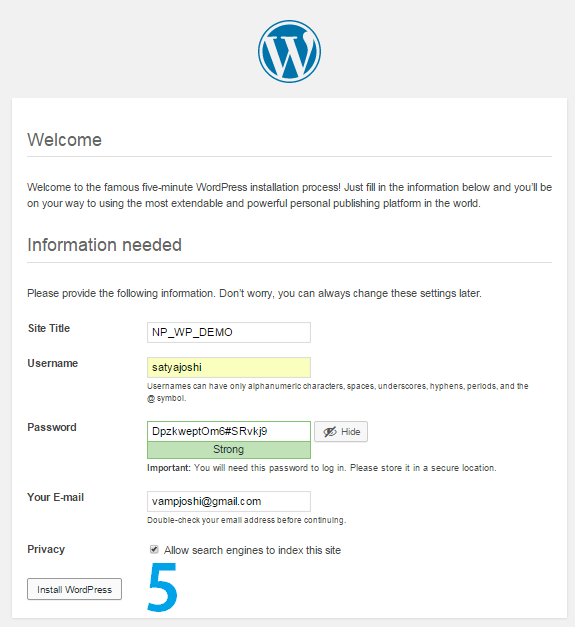
it will show you the welcome message on top of the page and now you have to fill in the information about your offline site…
And after filling in the information you can directly click on the Install WordPress button.
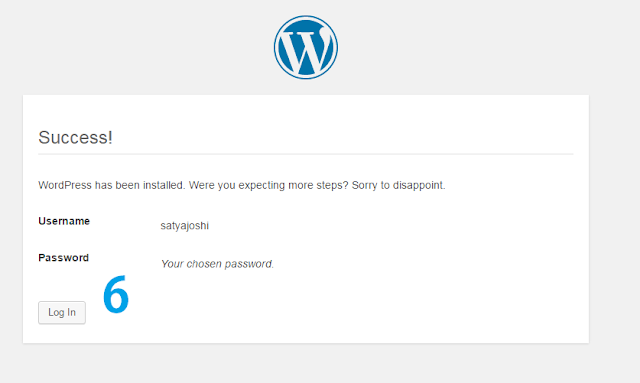
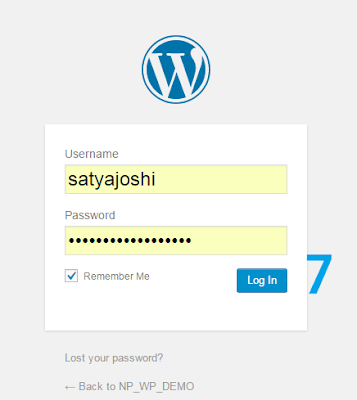
Here you have to login in to your WordPress recently created offline site. You need to remember your password that’s it…
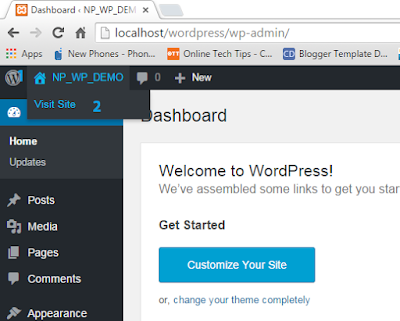
Just hit on the login button and type the password and go for login that’s it you will get your dashboard on your screen…
For your WordPress offline site, you can follow the above steps that are indicated in the above picture…
That’s it’…

